Introduction
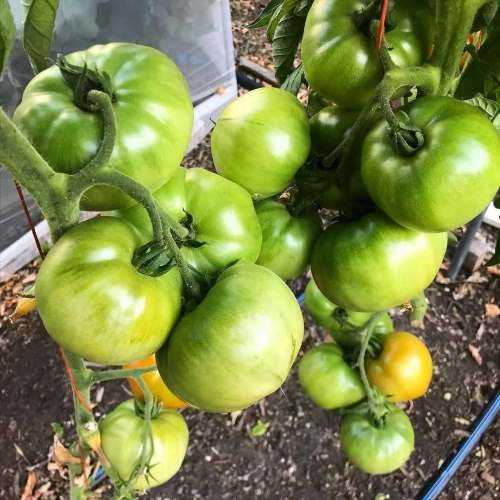
Grafting is a time-honored technique of joining two plants to combine their best traits, resulting in a single, more resilient plant. This approach is particularly effective for enhancing crop quality and yield in vegetables. Splice grafting, one of the most efficient methods in vegetable farming, allows for high compatibility between scion (upper plant part) and rootstock (lower plant part), helping gardeners achieve superior results.
What is Splice Grafting?
Splice grafting is a widely used technique in vegetable production, especially for crops that benefit from combining the traits of two different plants. Using robotic grafting for precision, splice grafting ensures an optimal connection of vascular bundles, allowing nutrients and water to flow effectively through the grafted plant. For the best results, the grafting should be performed in temperatures ranging between 25-30°C.
Step-by-Step Guide to Splice Grafting Vegetables
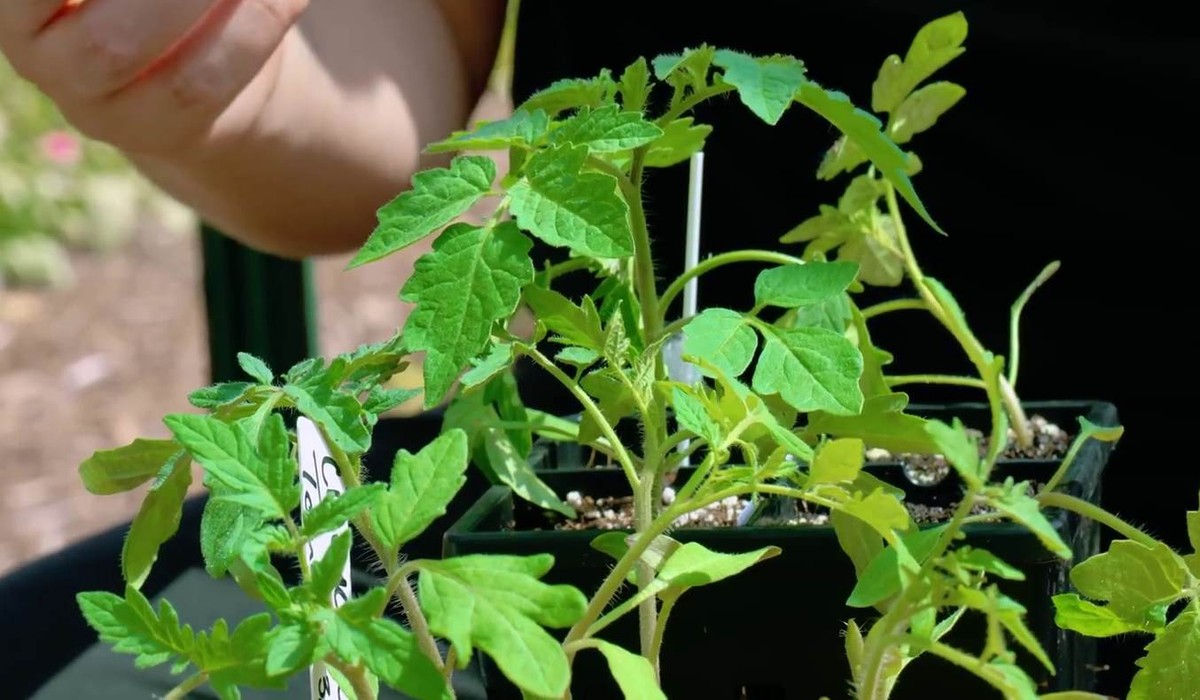
1. Selecting Healthy Scion and Rootstock Plants
Selecting the right scion and rootstock is crucial for successful grafting.
- Same Genus: The scion and rootstock should ideally belong to the same genus, as this increases the chances of compatibility and graft success.
- Compatibility: The rootstock should enhance the scion’s ability to withstand biotic and abiotic stressors. Likewise, the scion will influence the rootstock positively.
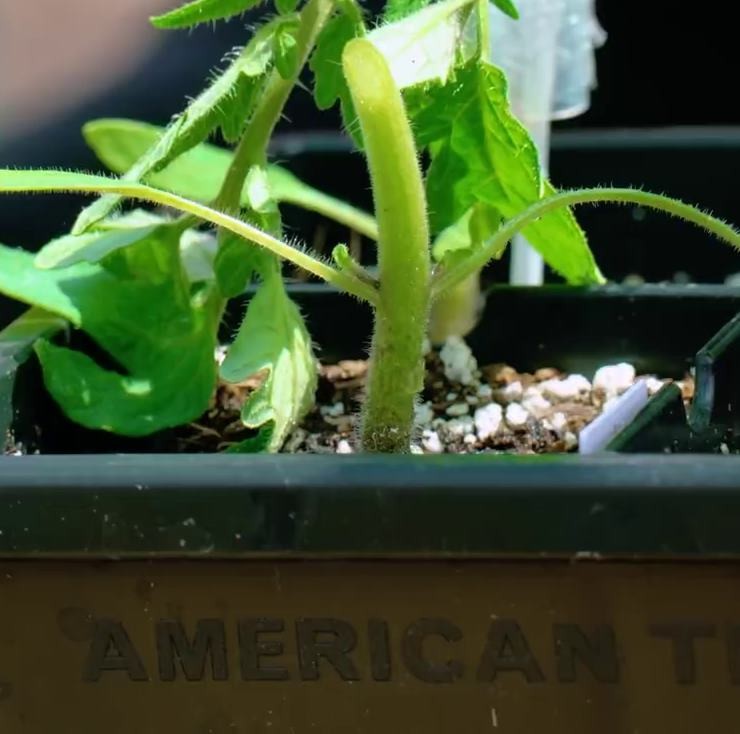
- Diameter Matching: Ensure that the stem diameters of both scion and rootstock are closely matched, ideally around 2-3 mm. If a precise match isn’t possible, use a slightly larger rootstock.
2. Making an Oblique Cut
Cut the scion and rootstock at a 45-degree angle for optimal surface contact.
- Precise Cuts: Use a single, smooth motion to ensure a clean cut, and discard the unneeded portions.
- Sizing: Keep the scion smaller than the rootstock for added stability.
3. Securing with a Silicon Grafting Clip
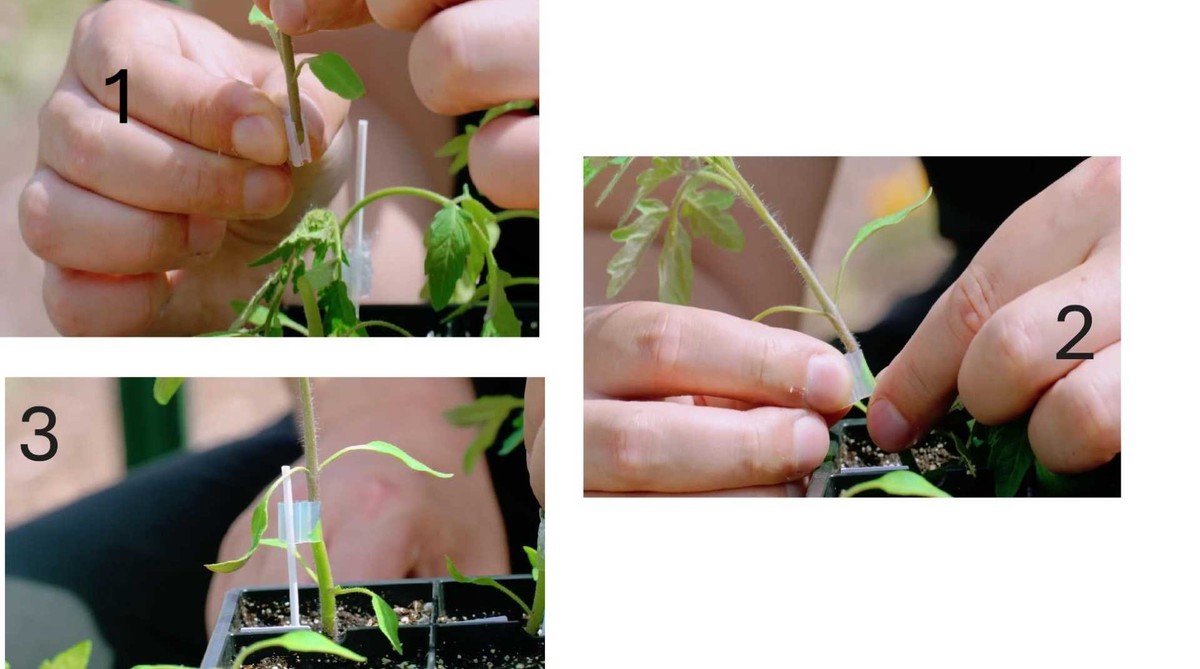
Place a silicon grafting clip on the cut end of the rootstock, then align the scion above it, ensuring proper contact for effective healing.
4. Healing the Grafted Plants in a Healing Chamber
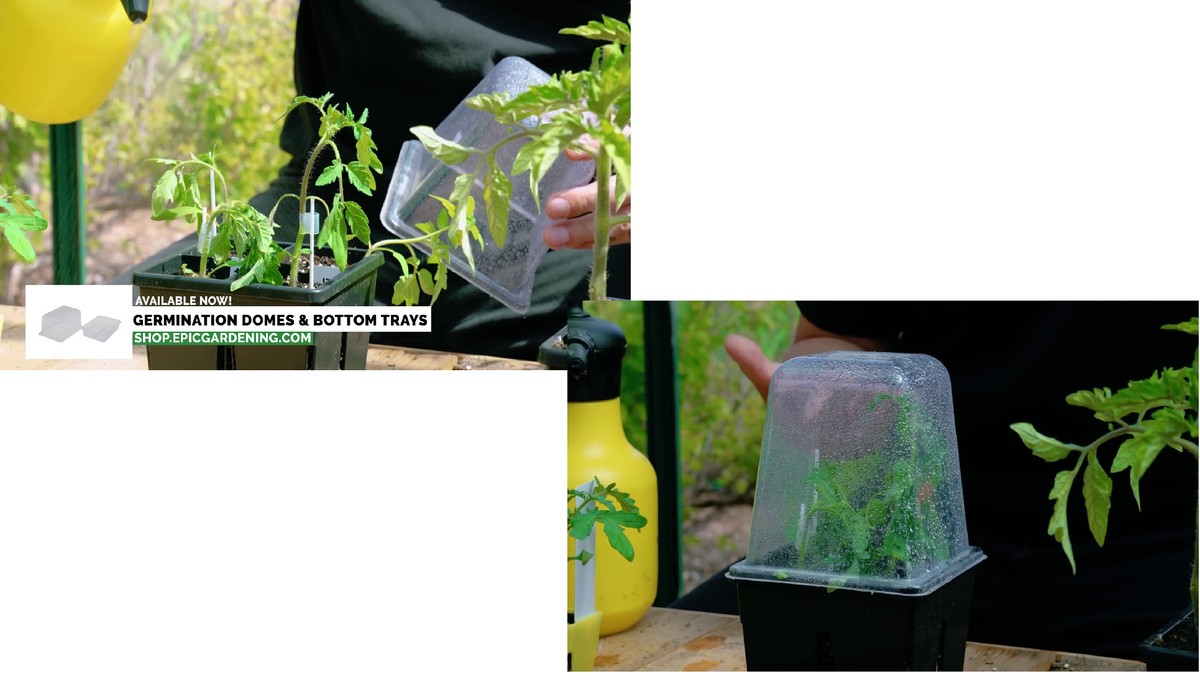
Immediately after grafting, transfer the grafted plants to a healing chamber. This environment is essential for keeping moisture levels high and light exposure low, allowing the grafted plant to recover effectively.
- Healing Duration: Leave the grafted plants in the healing chamber for 7 days to enable vascular healing.
- Temperature and Humidity Control: Maintain a cool, humid environment, particularly during warmer seasons.
5. Hardening the Grafted Plants
After the healing period, gradually introduce the plants to natural light in a net house, starting with 6 hours per day for 5-7 days. This hardening step helps the grafted plants adjust to outdoor conditions.
6. Transplanting to Field Conditions
After about 15 days, the grafted plants are strong enough to be transplanted to the field.
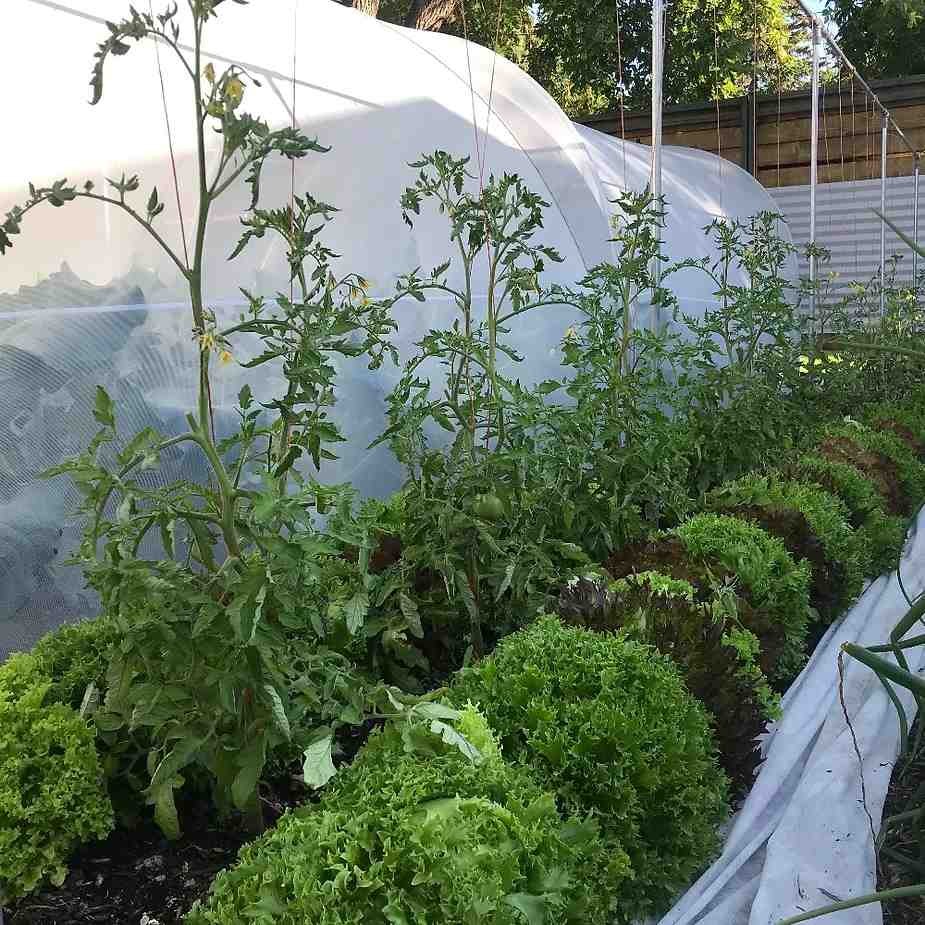
With these steps, you can enjoy a higher success rate in grafting and create plants with enhanced productivity and resilience. Splice grafting is a valuable skill for gardeners and farmers looking to improve their vegetable yields and plant health through tried-and-true horticultural techniques.

